Stacked Wall Sculpture
Louise Nevelson used wood for her wall sculptures... we used recyclables. This would make a wonderful group project. Just give the children a week or so to collect small boxes and interesting bottles and cans.
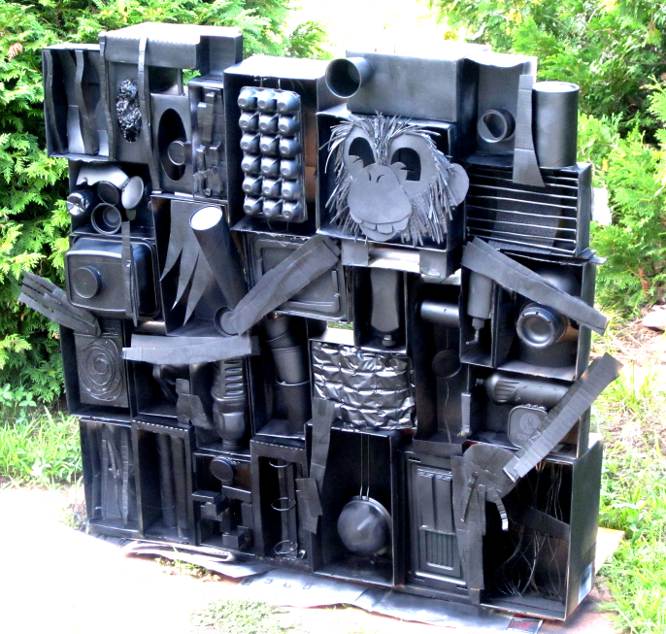

As we said in the Art Appreciation? lesson, Louise Nevelson would never have put a recognizable form such as a chimpanzee face into her sculptures. She wasn't trying to show how things look in the real world. Her work is usually considered to be "abstract." In abstract art, artists are more concerned with color, form and texture. But our Art Appreciation? lessons always have our chimpanzee mascot in them. So we had to include our chimp!
What you will need :
- Small mailing boxes, tissue boxes, cereal boxes. We collected over fifty, but didn't use them all.
- Tacky or Elmer's glue.
- An old board to use as a base.
- Newspapers.
- Books or other flat objects to use as weights.
- Black acrylic craft paint.
- Large craft brushes.
- Three cans of black spray paint and a willing adult, if preferred.
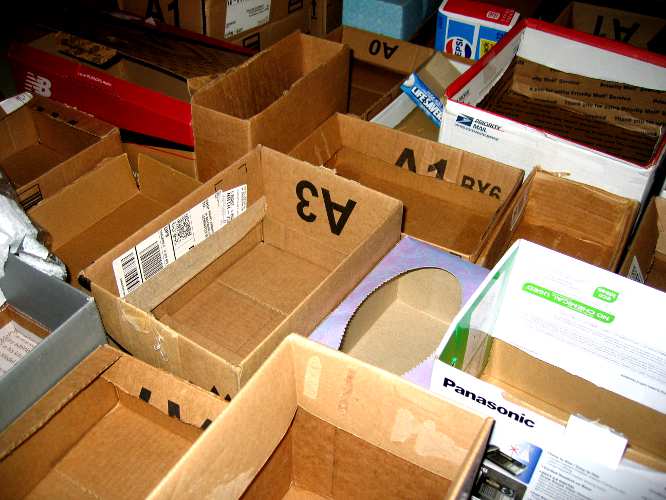

After collecting our boxes, we arranged them on the ground to get an idea of how they would best fit together.
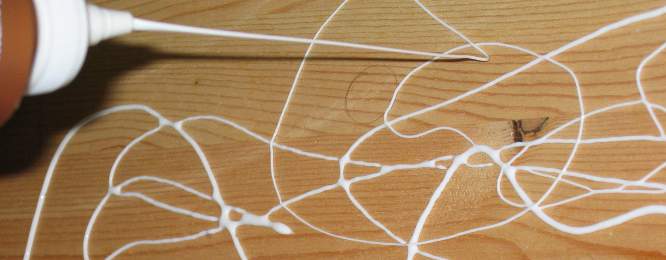

We covered our work area with newspaper and laid the old board on top. Everyone had fun squeezing glue over the top of the board.
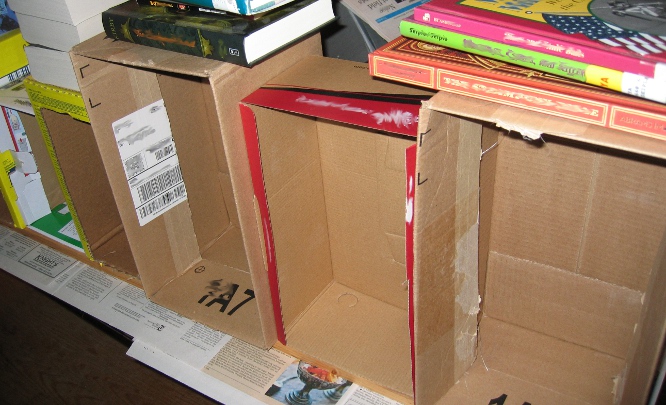

We arranged the first level of boxes on top of the glue-covered board. We varied how far each box stuck out over the board: If all the boxes were positioned to make the front of the sculpture flat, it wouldn't look as interesting. We squirted a little glue between the boxes. Then we weighed them down with books and left everything dry overnight.
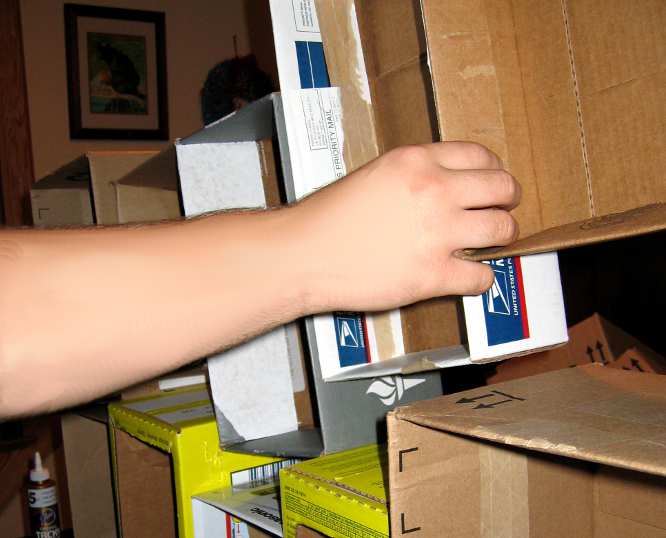

The next day, we arranged the second level of boxes and glued them into place. We kept adding levels of boxes until the sculpture was the height we wanted.
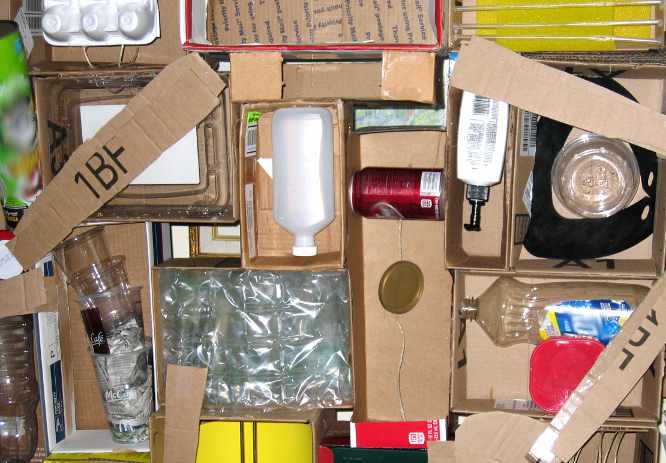

We glued anything we thought would look interesting--cans, bubble wrap, egg cartons, canister lids, plastic cups, old shoelaces, cardboard--into the boxes.
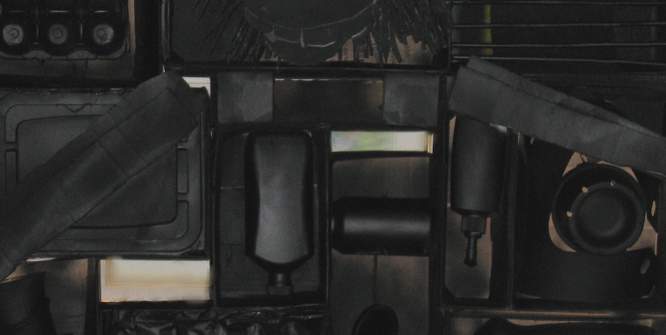

After everything had dried, we started painting the sculpture black. You can see how using a single color --black-- unified all the forms. Louise Nevelson's wall sculptures were monochrome. Monochrome means "having one color" ("mono" means "one," and "chrome" means "color").
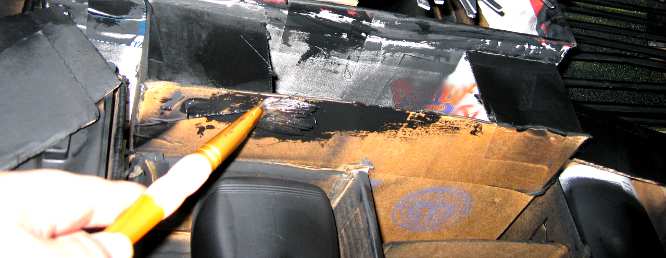

We were short on time, so we had an adult spray paint the sculpture. Then we went back in with paint brushes to fill in any spots the spray paint had missed.
Children should be supervised while spray painting. Do not point the nozzle towards anyone's face or eyes! Do not inhale spray paint fumes!
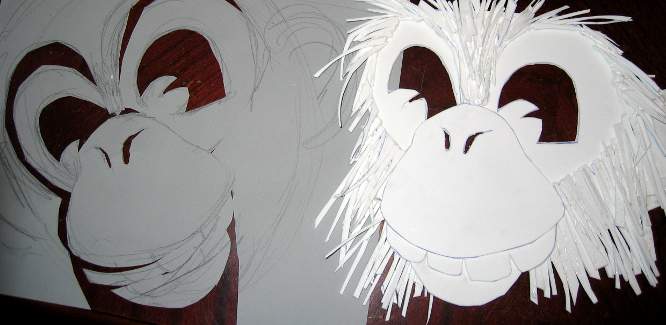

In case you were wondering, we didn't use recyclables to make the chimpanzee's face. We drew a chimp face on a scrap piece of paper which we cut out into pattern pieces. Then we cut the patterns out of foam. When we glued the foam pieces together, they gave just enough dimension to look like a chimp's face.