Angel Pins and Button Fairies

These Angel Pins and Button Fairies are both made with the same general directions. Button Fairies only differ in that they have a dangle of beads and buttons hanging from the bottom edge. But if you want to add buttons or beads to your Angel Pin, go right ahead! Just make sure to punch the hole for the beading wire before you bake the shrinkable plastic film.
What you will need :
Shrinky Dinks Refill Package or other shrinkable plastic film
Fine-tipped Permanent Marker such as Micro Pigma or Sharpie
Colored pencils
Glitter Glue, for sparkly wings
Bar Pins or Pin Backs
Tacky Glue or Jewelry Glue
Hole punch
Beading wire (we suggest 24 gauge)
Pliers to cut and twist wire
Three or four shank buttons. A shank button has a loop or channel on its back for the thread to go through, unlike a shankless button which is flat with holes in the button surface. This is what shank buttons look like from the back:


Beads, if desired
An adult to supervise or to operate the oven for you
Your own sketch or a print out of an angel or a fairy pattern template
You can print out a project template by clicking on the below links
Valentine Fairy and Chimpanzee Fairy Templates.
Primitive Angel Pin, Flying Angel Pin and Cat Face Templates.
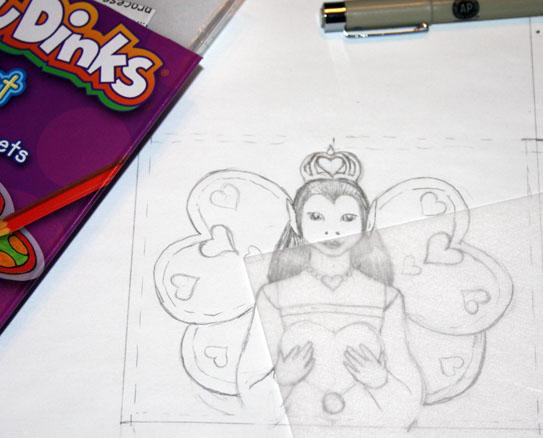

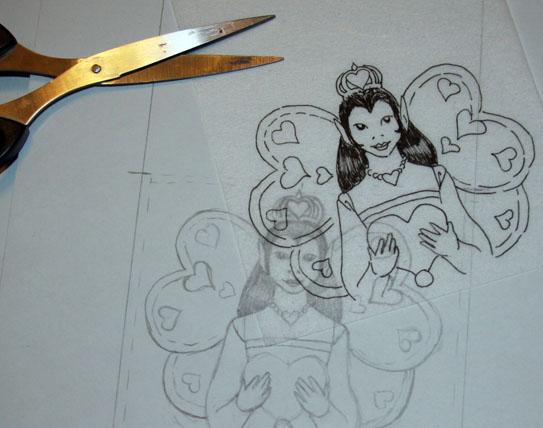
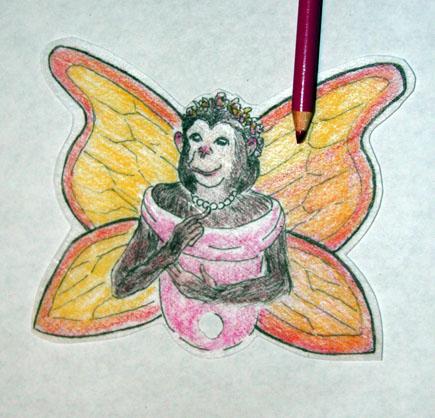
There are several brands of shrinkable plastic film, all of which reduce to approximately a third of their original size when baked. We chose Shrinky Dinks because the roughened side of the film holds a lot of colored pencil pigment! To start, either draw your own design, or click on Valentine Button Fairy to print out a template. Put a sheet of shrink film rough side up over the sketch and use a fine tip permanent marker to trace the fairy onto the rough side.

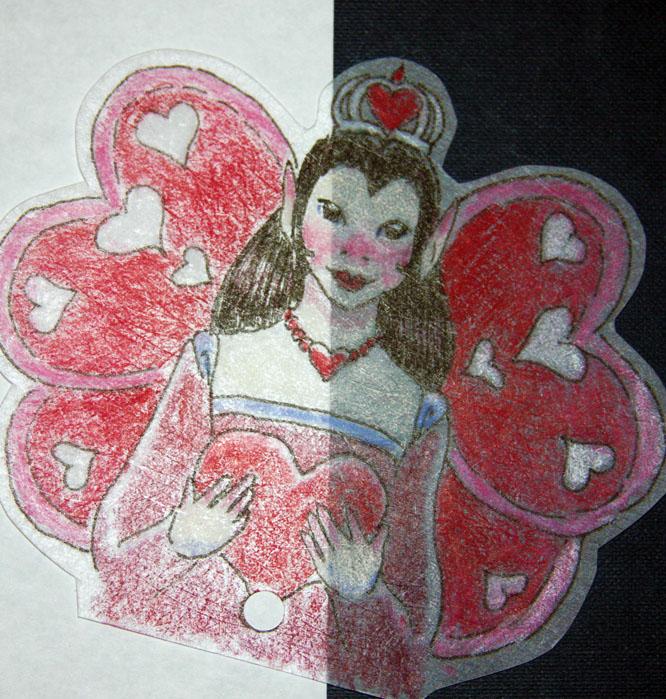
Cut around the fairy, leaving approximately1/8" of film all around her outline. If you want to add buttons to your pin, punch out the hole for the beading wire now. Use colored pencils to color in the fairy on the rough side of the film.

To bake the film, preheat the oven to 350 degrees Fahrenheit. Put the fairy, rough side up, on a foil covered cookie sheet. Ask an adult to put the cookie sheet into the oven. The film will only take a few minutes to bake: It will suddenly curl up, then shrink down flatter and thicker. Because the film shrinks during baking, the color pencil pigments will become more intense .
Let the film stay in the oven for an additional 30 seconds, and then have the adult take out the cookie sheet. You can bake several pieces at once: However, make sure to leave a few inches between the pieces so that they don't touch and bond together.
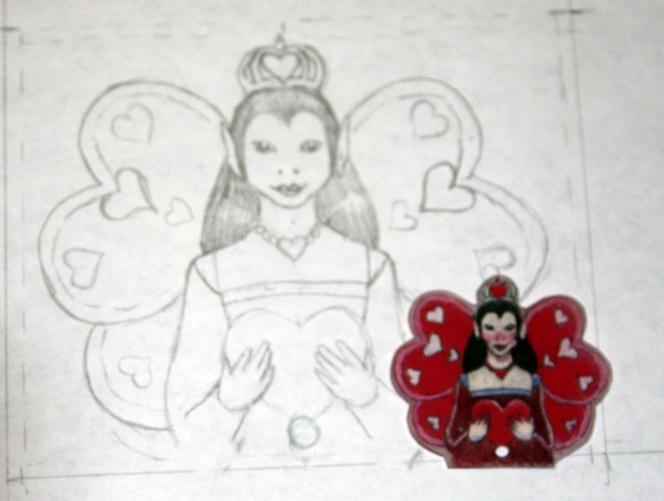

Not only does the film shrink to approximately a third of the sketch's size, it becomes thicker as well.
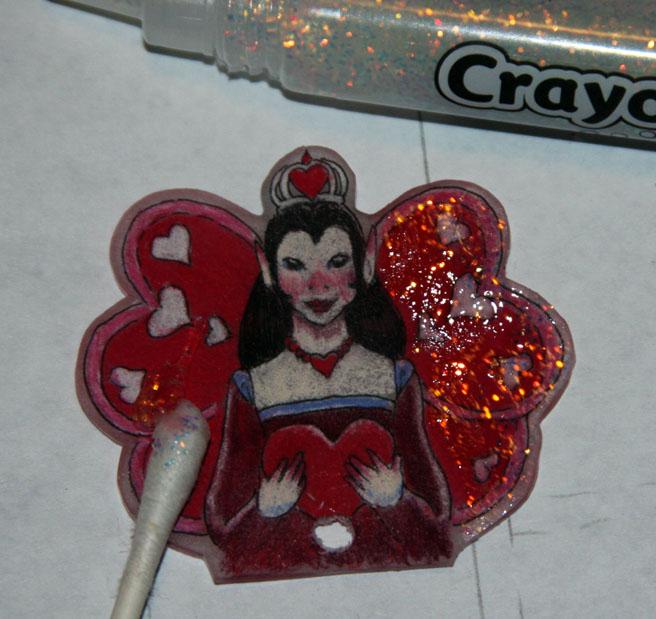

To add sparkle to your fairy's wings, use your fingers or a cotton swab to spread glitter glue over the colored pencil side of the wings. Let the wings dry for a few hours so that the glitter doesn't smear onto the matte areas.
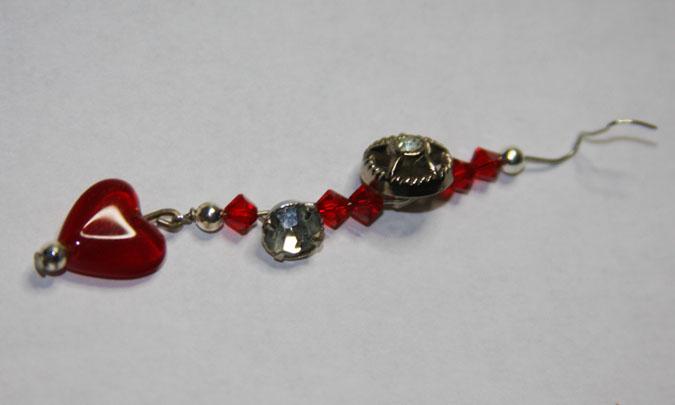

While the wings dry, you can work on the beads and buttons that will dangle from the pin's bottom. We made this dangle with beading wire, vintage buttons, crystal beads, and a glass heart from an old earring. Leave an extra inch at the top end of the dangle.
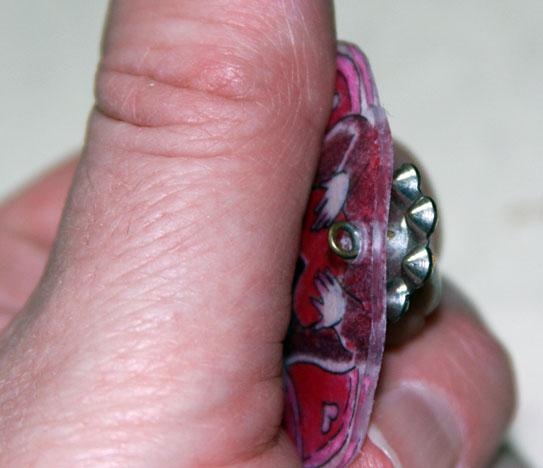

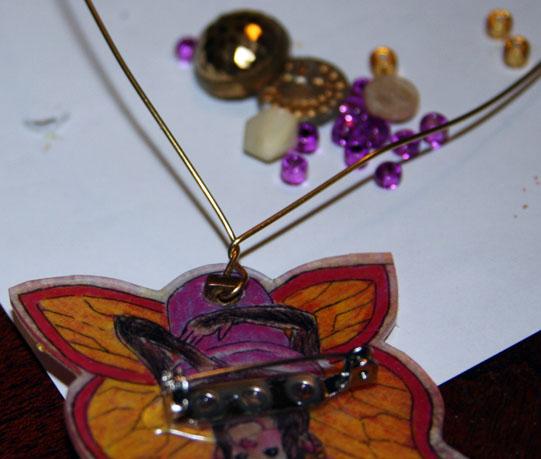
To attach the button dangle to the pin, put a little dab of glue on the back of another shank button. Push the button shank through the front of the punched hole. Now the shank sticks out of the back of the pin.
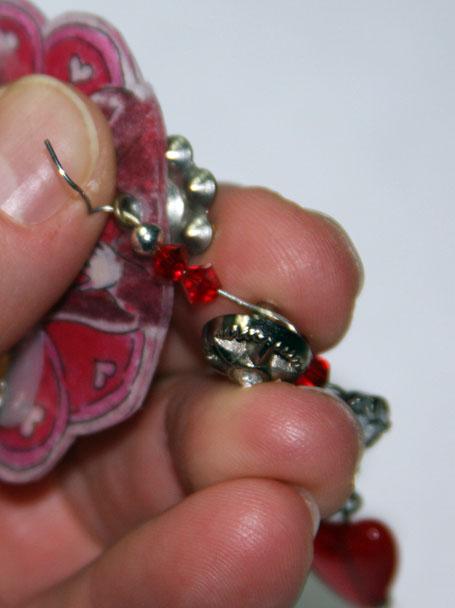

Push the extra wire at the top of the dangle through the shank of the button. Twist the wire around a few times until it is secure.
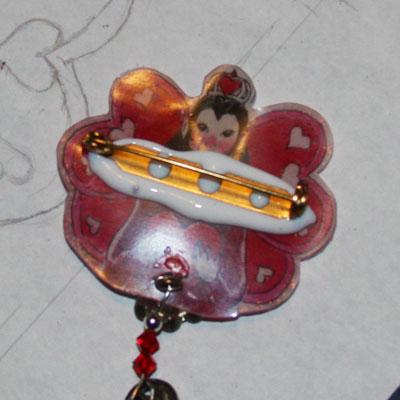

Glue the bar pin to the back of the pin. Leave overnight.

While the Valentine Button Fairy dried, we started on our Chimpanzee Button Fairy. (Click on Chimpanzee Button Fairy to print out the template.)


We wanted to see how shrinkable film would work in a toaster oven. Our toaster oven didn't get as hot as it should, and left the film crumpled even after 5 or 6 minutes. But when we cooked it in a regular oven, it flattened out and shrank.
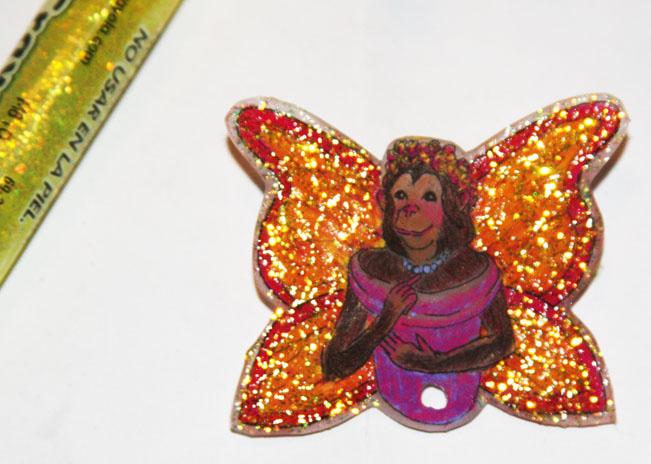

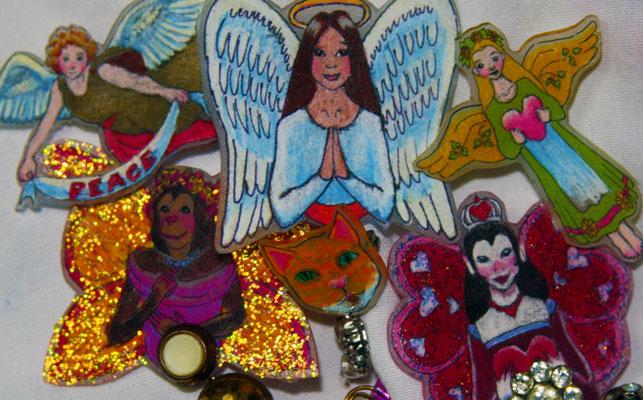
Glitter glue comes in different colors. Yellow glitter glue over the orange and red butterfly wings made their color even more intense.

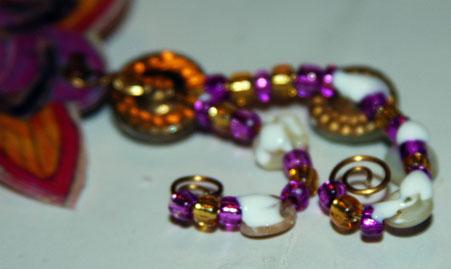
If you want to give your button two dangles instead of just one, cut a long piece of beading wire. Push the shank button through the hole in the film. Fold the beading wire in half, hook it through the shank, and twist it a few times


After stringing the first dangle with beads and buttons, finish the end by curling the wire into a flat spiral. Then finish the second dangle.

To keep the decorated sides of the buttons facing outward, lay the pin and the dangles face down. Squeeze out large dabs of glue over the wires and the shanks. The glue may look a bit messy at first, but after drying overnight the glue will shrink and dry clear. To save time, you can glue the bar pin onto the back of the pin at the same time.
Angel Pins


Angel Pins are made the same way as Button Fairies. If you decide that you want to add buttons, punch the hole for the beading wire before baking. If you try to add the hole after baking, the baked film will be too hard and thick.
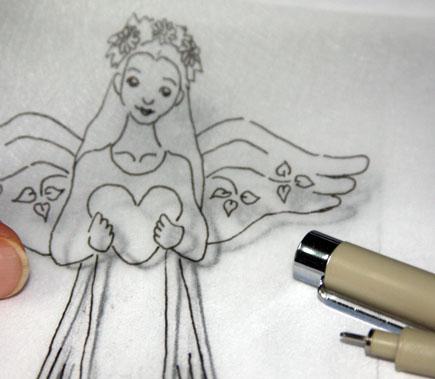

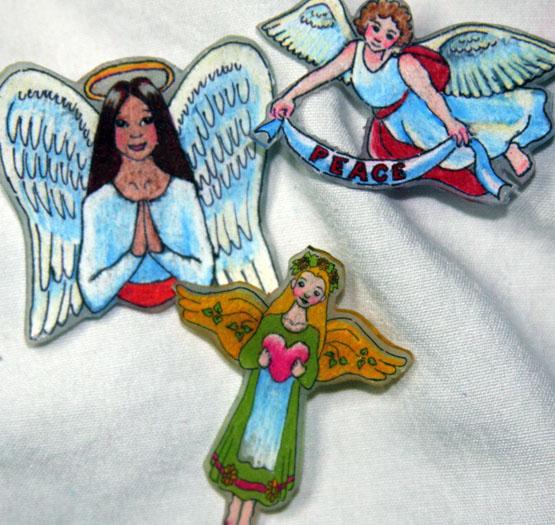
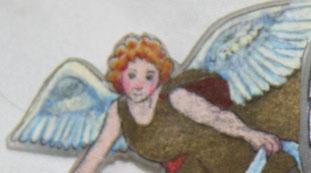
This first angel was inspired by American folk-art (Click on Primitive Angel Pin Pattern to print out the template.)
She wears a wreath of flowers instead of a halo, and her wings are patterned with leaves. After we cut her out, we still had enough shrink film left on the sheet to make another pin.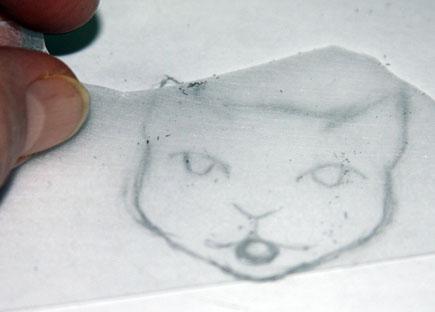

We sketched out the face of our tabby Widget to fit the extra shrink film.
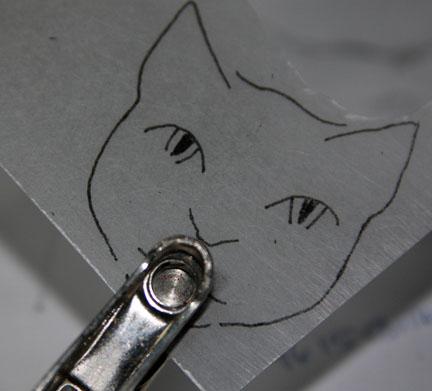

We have some beads that are fish shaped. We punched a hole before baking so that we could have the fish bead dangle from Widget's mouth. You may have some buttons and beads to inspire you own design!
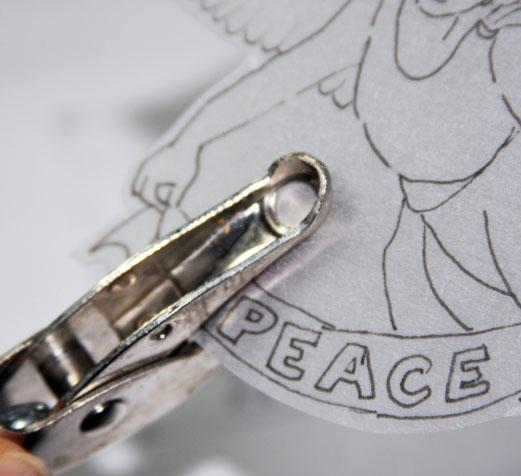

The hole punch is a good tool for trimming out an area within your design. The next pin (Click on Flying Angel Pin Pattern to print out the template.) has an area between the angel's arm and her banner that would look better cut out. Use the hole punch to make enough room for the point of your scissors to go in and trim out the area.
We wrote "Peace" on the angel's banner, but you can write any message you want!
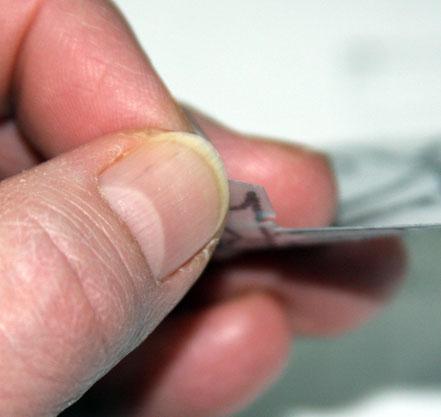

Sometimes, plastic film will tear a bit at the corners while you are trimming it. Not to worry: when the film is baked the plastic will melt and heal the tear.

We tried out metallic colored pencils on the flying angel pin. The metallic gold gown looked wonderful before baking, but turned brownish and dirty-looking afterwards.
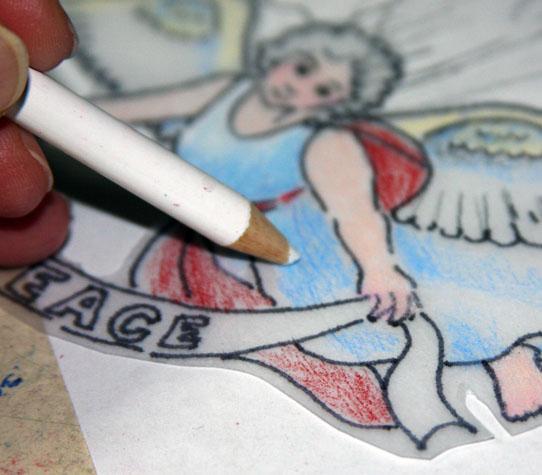

We decided to start all over again with a new piece of film so that we could give the angel a white gown instead. We burnished the gown's blue shadows with a white colored pencil. Burnishing made the color smoother on the baked pin.